Tuesday, December 31, 2013

Exciting new products!

I'm pretty stoked that Jamberry has announced the new wraps for Valentine's day! They are so freakin adorable! Twitterpated is my favorite! I have a feeling these could sell out fast!

They also announced today that they will be offering a Valentine's lacquer set with a brand new sparkley top coat called lovestruck! I love the lacquer on my toes! It's far superior to polish and goes on really smooth! 
Hit up my site tomorrow and snag these babies before they sell out!

And don't forget: January is the perfect month to host a party! Online facebook parties are super easy and you can earn a TON of free product credit!! Click Here to Schedule a Party!


Friday, December 27, 2013

Free Sample Friday!

Every Friday I mail out Jamberry samples! If you'd like to give Jamberry wraps a try, shoot me an email with your address and i'll drop it in the mail! Simply cut it in half, use it on 2 accent nails and paint the rest


Thursday, December 26, 2013

More reasons Jamberry is my jam

After trying sally hansen wraps, OPI Sephora wraps and Jamberry wraps I can whole heartily agree with this image:
After trying more techniques and compiling a quick list of tips, I came up with this short cheat sheet!

Monday, December 23, 2013

January Parties

If you've been considering hosting a party - January is the month to do it!

This just in from Jamberry: if you host a party in January and it reaches at least $400 in sales, you will earn 50% more in free product credit! So instead of earning $80 in products, you would earn $120! But wait, there's more! (insert infomercial announcer voice) Jamberry is also throwing in the most popular 2013 Sisters Style Exclusive wrap "Popstar" for free! Check out the sweet rewards breakdown: 


January is looking to be an opportune month to host a party!
Click here Nopolishnoproblem.jamberrynails.net/host to book one with me, you can do it online via facebook, from the comfort of your couch! Your family/friends/coworkers simply browse the online catalog and click the link to place their order.

If you are considering joining my team as a consultant, you can earn all the hostess rewards on your launch party Plus commission! It doesn't take much to break even and have the starter kit pay for itself. Joining in january would be wise! Nopolishnoproblem.jamberrynails.net/join

Here's Popstar:

Sunday, December 15, 2013

Nail-spiration and a tips and tricks video!

Here are my most recent jamicures! My sister and I did our nails together last weekend and she chose budding cobalt with raspberry sparkle while I went with Modnight celebration and raspberry sparkle.

 I earned the host exclusive wrap for December and Love it! It's the perfect ugly sweater/christmas look! I also adore the Venus wrap (the pink stripes) and I'm diggin' the classy look of french tips. I've never been able to achieve the look of french tips with polish! The accent nail is pink romance.


This video helped me realize that there are plenty of little things I can do to perfect my technique and achieve optimal results when applying my jams!

And just a friendly reminder, since the Christmas cut-off has now ended, Jamberry offers E-gift cards! 

Are you going to a New Years Eve party this year? Be sure to order festive jams in time for the big event! 
Midnight Celebration is my personal favorite, but all of these are super cute! 


Wednesday, December 11, 2013

My reccommended application method! (Rice Bag/Ziploc/Cold)

These are the instructions that I prefer to use. After watching videos, taking notes and listening to different tips, I've decided that this will be the method I refer folks to use. A cold application is often an easier way to apply your wraps. In my experience, it’s a bit faster and gives me the same long-lasting results. There’s no fumbling with a blow dryer, and the glue is more forgiving because you activate it AFTER you set the wrap perfectly on your nail.
Items needed:

Cuticle pusher
Alcohol pad or rubbing alcohol or vinegar on a cotton ball
Nail Clippers
Scissors
Rice Bag (Or a sock, filled with about 1/2-1 cup of rice and tied off - Microwaved for 20-30 seconds)
Tweezers

Ziploc Baggie
Nail File
Nail wraps (Duh!) :)


COLD APPLICATION INSTRUCTIONS:

* Push back your cuticles and clean your nails and hands with dish soap to remove any excess oil, then swipe your nails with alcohol or white vinegar.

* Match your nail (finger or toe) to the wrap that best fits. Going a bit smaller is better than going bigger. You don’t want the wrap to touch your skin at all. You can also trim the larger wraps when they’re still on the backing to make them smaller. You will use half of the wrap on each hand.

* Peel off the nail wrap. Try not to touch the sticky part that will stay on your nail. I hold my wrap by the part I know I’ll cut or file off. Some people also hold it with tweezers.

* Press the wrap onto your nail. Apply firm pressure at the base of your nail and move straight up to the tip before smoothing outward toward the edges. Slightly pull the wrap forward and stretch it to insure no bubbles are under it. Use a cuticle pusher or orange stick to smooth out and seal the wrap around the edges for a watertight fit. Because the wrap hasn’t been warmed yet, you can remove and reapply several times to get it just right. It won’t adhere permanently until warm.

* After placing the wrap, stick your finger in a Ziploc baggie and pull it tight around your nail. Then use a warm rice bag (or put rice in an old sock) to bond the wrap to your nail. It will instantly “shrink wrap” itself to your nail. Be sure to apply firm pressure, especially around the edges. The bag helps keep even pressure on your nail while protecting it from the moisture of the rice too.

* If you get a bump while applying the wrap, you can reheat your finger with the wrap on it and then smooth the wrap out again. You can also heat up a metal nail file and press the bumps out for a quick touch up if needed. There is a learning curve to applying the wraps, so don’t give up if your first application isn’t perfect. You’ll get faster and smoother each time you do it.

*Trim the extra wrap off with scissors and file off any remaining wrap from the tip using a 90-degree downward motion. You won’t want to leave any rough edges, but don’t go side to side. You can also clip the very tip of your nail instead of filing.

*Refrain from showering, washing dishes or soaking your hands in water for at least an hour, I recommend doing your nails before bed so they have all night to bond.
Here is a great video showing how to pull and stretch the wrap:

Thursday, December 5, 2013

Alternate Application Methods and Troubleshooting Tips

Update:
It's already December and i've been awful about keeping up on the blog. Jammin' is way more fun and keeps me busy! I am currently hosting a holiday event and offering some crazy awesome sales for the month of December! Shoot me a message at nopolishnoproblem@gmail.com for my special pricing on package deals and gift sets!!


I also found this helpful cheat sheet for folks who may come across problems when applying their wraps. I swear by the classic official application http://youtu.be/KaykpuMe53w now that I have my new plum mini heater! Trust me, I've tried a zillion methods and the new heater is so worth it! You can pick one up here! I also like to use a gel cuticle remover first and a metal cuticle pusher!


Sunday, December 1, 2013

Helpful Jamberry Application Tutorial Videos

Before I even tried my samples I watched both of these videos to get an idea of how to apply the nail shields. I found them really helpful and I'm sure you will too! This is the official Jamberry method.


Here's the popular rice bag/baggie/cold method, which I prefer since my nails curve.


My Favorite Jams

I've been making a list of my favorite Jamberry nail wraps for my next order and can't wait to have some fun mixing and matching the designs! I feel like I could spend hours on instagram browsing jamberry nail hashtags from other people. I find that seeing the designs on actual nails really helps me determine if they'd look cute on me. The sample images on the jamberry site don't quite give the full effect. Here's the rundown of my favorites so far. My list is ever-growing!


Apparently I have a thing for the Garden Party Collection. White Tip M and White Romance are both clear wraps so your natural nail color shows through or if you want you can paint it first with polish for a pop of color under the clear wrap design! If you are curious to see how these look on real nails you can do so directly at jamberry.net, once you click on the actual nail design it will have random instagram photos scrolling below the image. Or if you're on instagram you can search the hashtags. Here are the hashtags for the nails above: 

White romance #WhiteRomanceJN
Siesta #siestaJN
Budding love #BuddingLoveJN
Leafy vine #LeafyVineJN
Pink romance #PinkRomanceJN
Taupe mini rose #TaupeMiniRoseJN
Vintage chic #VintageChicJN
Midnight celebration #MidnightCelebrationJN
Swiss dot gray lemon #SwissDotGrayLemonJN
Venus #VenusJN
Budding cobalt #BuddingCobaltJN 

What are your favorites? Comment below, I'd love to discover some hidden gems I may have not found yet! 

Sally Hansen Salon Effects, Sephora OPI Trend Tips or Jamberry - Reviews

Recently a few friends of mine started selling Jamberry nail wraps. I thought they looked adorable until I saw how much it would cost to buy a sheet! Being the frugal gal I am, I decided I'd try out the Sally Hansen Salon Effects nail strips first, to see how I liked them. I figured I'd save about $5 and could get them sooner than ordering through my friends. I bought a package of  the "Laced Up" design for about $10 and tried them out on my ring fingers.
They went on fairly easily and I was pretty pleased with them. Until a few days later when I went to apply them on the rest of my nails and realized that the entire pouch was dried out and would not stick to my nails. What a waste! Because they are made from real nail polish, they also have a smell to them. I preferred to apply them outside. The box did include a second pouch of strips that I hadn't opened yet so I was able to use those. They started chipping within a few days though, unfortunately. Also the designs were so limited, I really only thought 2 or 3 were cute.

After trying those out, I decided to see what I could find at TJ Maxx for even cheaper and lo and behold I stumbled across toe strips from Sephora by OPI, called Trend Tips. I bought the snake skin print (not really my style but fine for the toes) and applied 10 of them but didn't take a photo since I know toes gross people out. These strips are also made from real polish and had a smell to them. They were even harder to manipulate than the Sally Hansen ones and tore apart easily. I wasted a bunch of these as well while trying to cut them down and peel the clear backing off (which proved frustrating and annoying!) The leftover strips also dried out and I wasn't able to use them again, which was a total waste.

Enter the 
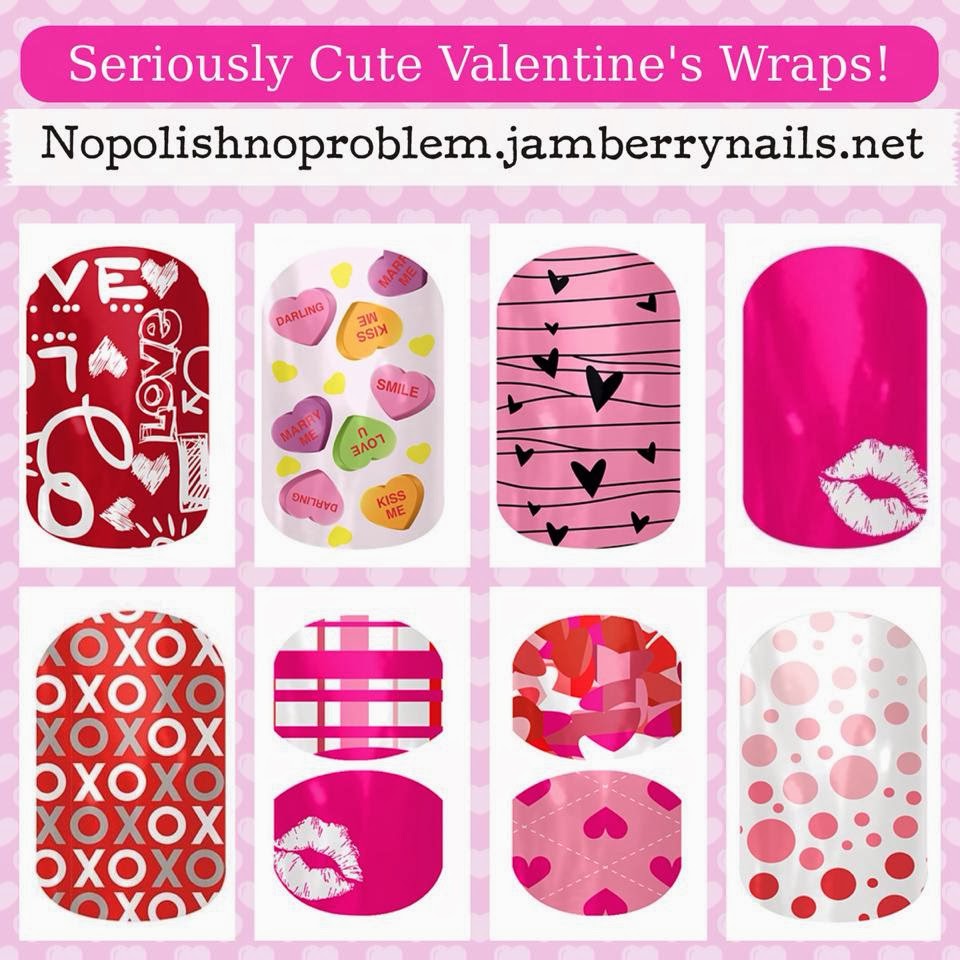
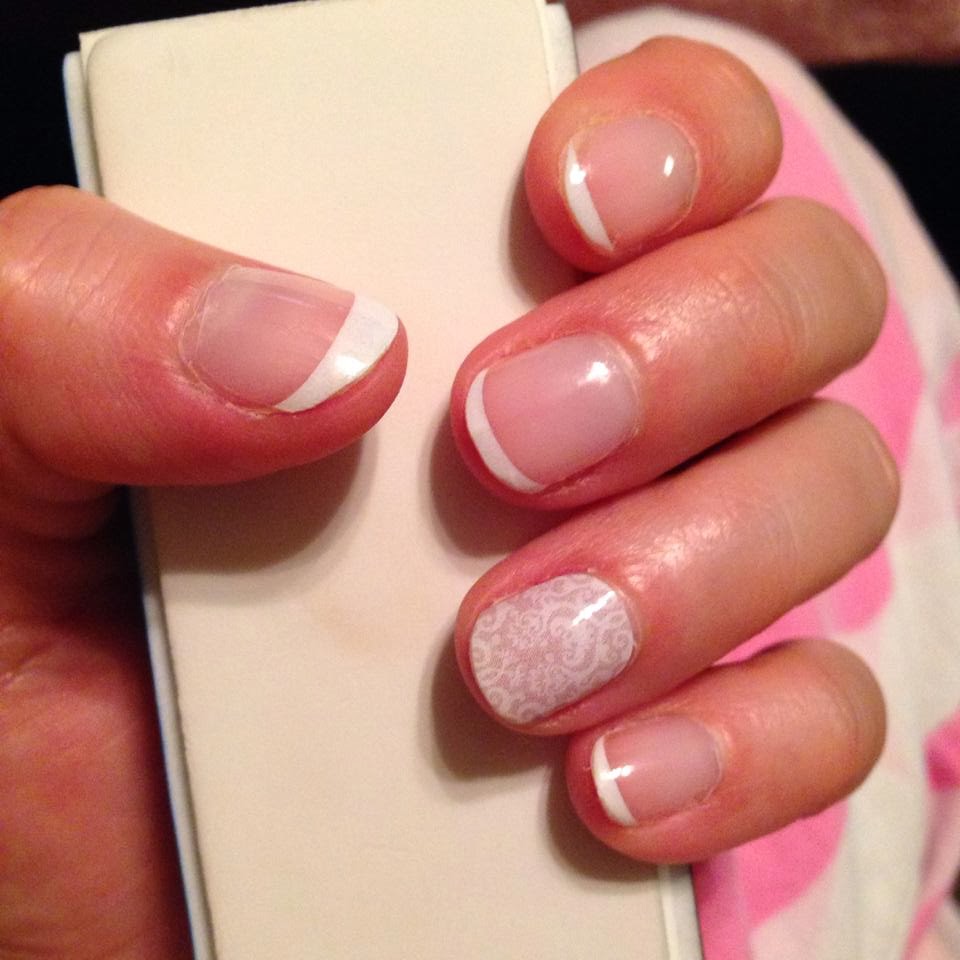
Jamberry Nails sample strip that my friend Samantha mailed me! (Cue angels singing) I was really nervous for some reason about applying these bad boys. I had watched a few tutorial videos and read up a bunch before my attempt and wrongly assumed it would be a pain...it wasn't! I chose the "Frill" design and was amazed at how strong and simple they were to apply. Dare I even say it was even fast to apply! Admittedly, I only did my two ring fingers.
One of the best things about the Jamberry nail wraps is that they don't stink since they're not made from real nail polish! Using a blow dryer to heat the wrap for a few seconds then sticking it down was a breeze! Once I had it in place, I pressed it down smooth and shot some heat on it again for a few seconds. No problem! Next time if I use the sample size, I think it would fit better on my pinky nail. So in conclusion, the Jamberry Nail wraps win Hands Down! Here are more reasons they are awesome:
  • They are made in the USA!
  • They last up to 2 weeks on your fingernails and 4-6 weeks on your toes! 
  • No dry time, chipping, smudging, smelling or flaking like nail polish!
  • There are over 300 designs to choose from, from flashy and fun to classic and sleek.
  • You can get 2-4 manicures/pedicures out of ONE sheet (each sheet has 18 shields) and they won't dry out!
  • They are non-toxic, don't contain harsh chemicals like acrylics/gel nails, are vegan friendly and safe for people of all ages, including children!
  • Jamberry nail wraps can be applied over acrylic nails and removed with no damage!