Recently a few friends of mine started selling Jamberry nail wraps. I thought they looked adorable until I saw how much it would cost to buy a sheet! Being the frugal gal I am, I decided I'd try out the
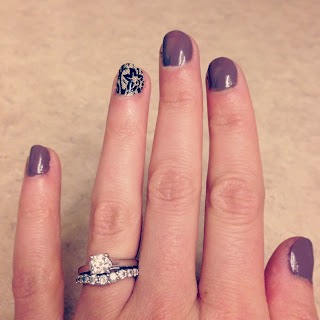
Sally Hansen Salon Effects nail strips first, to see how I liked them. I figured I'd save about $5 and could get them sooner than ordering through my friends. I bought a package of the "Laced Up" design for about $10 and tried them out on my ring fingers.
They went on fairly easily and I was pretty pleased with them. Until a few days later when I went to apply them on the rest of my nails and realized that the entire pouch was dried out and would not stick to my nails. What a waste! Because they are made from real nail polish, they also have a smell to them. I preferred to apply them outside. The box did include a second pouch of strips that I hadn't opened yet so I was able to use those. They started chipping within a few days though, unfortunately. Also the designs were so limited, I really only thought 2 or 3 were cute.
After trying those out, I decided to see what I could find at TJ Maxx for even cheaper and lo and behold I stumbled across toe strips from
Sephora by OPI, called Trend Tips. I bought the snake skin print (not really my style but fine for the toes) and applied 10 of them but didn't take a photo since I know toes gross people out. These strips are also made from real polish and had a smell to them. They were even harder to manipulate than the Sally Hansen ones and tore apart easily. I wasted a bunch of these as well while trying to cut them down and peel the clear backing off (which proved frustrating and annoying!) The leftover strips also dried out and I wasn't able to use them again, which was a total waste.
Enter the
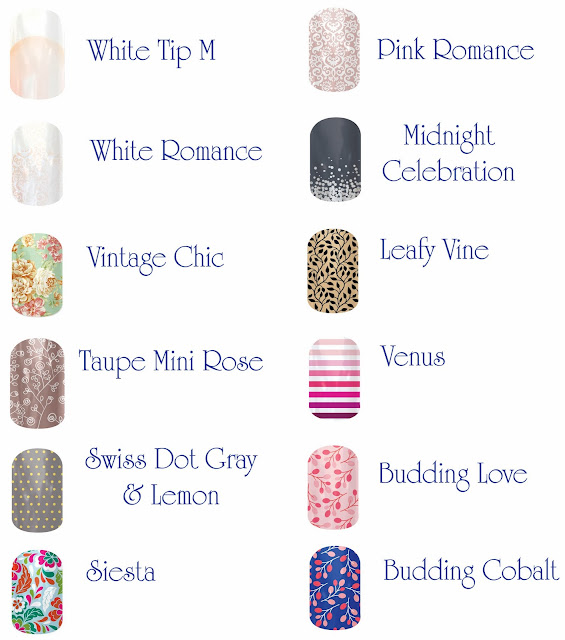
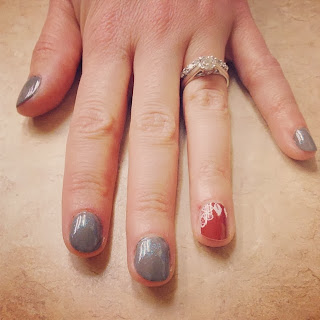
Jamberry Nails sample strip that my friend Samantha mailed me! (Cue angels singing) I was really nervous for some reason about applying these bad boys. I had watched a few tutorial videos and read up a bunch before my attempt and wrongly assumed it would be a pain...it wasn't! I chose the "Frill" design and was amazed at how strong and simple they were to apply. Dare I even say it was even fast to apply! Admittedly, I only did my two ring fingers.
One of the best things about the Jamberry nail wraps is that they don't stink since they're not made from real nail polish! Using a blow dryer to heat the wrap for a few seconds then sticking it down was a breeze! Once I had it in place, I pressed it down smooth and shot some heat on it again for a few seconds. No problem! Next time if I use the sample size, I think it would fit better on my pinky nail. So in conclusion, the Jamberry Nail wraps win Hands Down! Here are more reasons they are awesome:
They are made in the USA!
- They last up to 2 weeks on your fingernails and 4-6 weeks on your toes!
- No dry time, chipping, smudging, smelling or flaking like nail polish!
There are over 300 designs to choose from, from flashy and fun to classic and sleek.
You can get 2-4 manicures/pedicures out of ONE sheet (each sheet has 18 shields) and they won't dry out!
They are non-toxic, don't contain harsh chemicals like acrylics/gel nails, are vegan friendly and safe for people of all ages, including children!
Jamberry nail wraps can be applied over acrylic nails and removed with no damage!


